# certbotインストール root@exxxxxxxxxxx:/home#apt -y install certbot Reading package lists… Done
Building dependency tree… Done
Reading state information… Done
The following additional packages will be installed:
~以下略~
Saving debug log to /var/log/letsencrypt/letsencrypt.log Plugins selected: Authenticator webroot, Installer None Enter email address (used for urgent renewal and security notices) (Enter 'c’ to cancel): admin@example.com # メールアドレスを入力
– – – – – – – – – – – – – – – – – – – – – – – – – – – – – – – – – – – – – – – – Please read the Terms of Service at https://letsencrypt.org/documents/LE-SA-v1.3-September-21-2022.pdf. You must agree in order to register with the ACME server. Do you agree? – – – – – – – – – – – – – – – – – – – – – – – – – – – – – – – – – – – – – – – – (Y)es/(N)o: Y # 承認の確認です。Yを選択します。
– – – – – – – – – – – – – – – – – – – – – – – – – – – – – – – – – – – – – – – – Would you be willing, once your first certificate is successfully issued, to share your email address with the Electronic Frontier Foundation, a founding partner of the Let’s Encrypt project and the non-profit organization that develops certbot? We’d like to send you email about our work encrypting the web, EFF news, campaigns, and ways to support digital freedom. – – – – – – – – – – – – – – – – – – – – – – – – – – – – – – – – – – – – – – – – (Y)es/(N)o: N # 案内メール送信の確認です。必要な場合はYを選択 Account registered. Requesting a certificate for www.example.com Performing the following challenges: http-01 challenge for www.example.com Using the webroot path /home/site/wwwroot for all unmatched domains. Waiting for verification… Cleaning up challenges
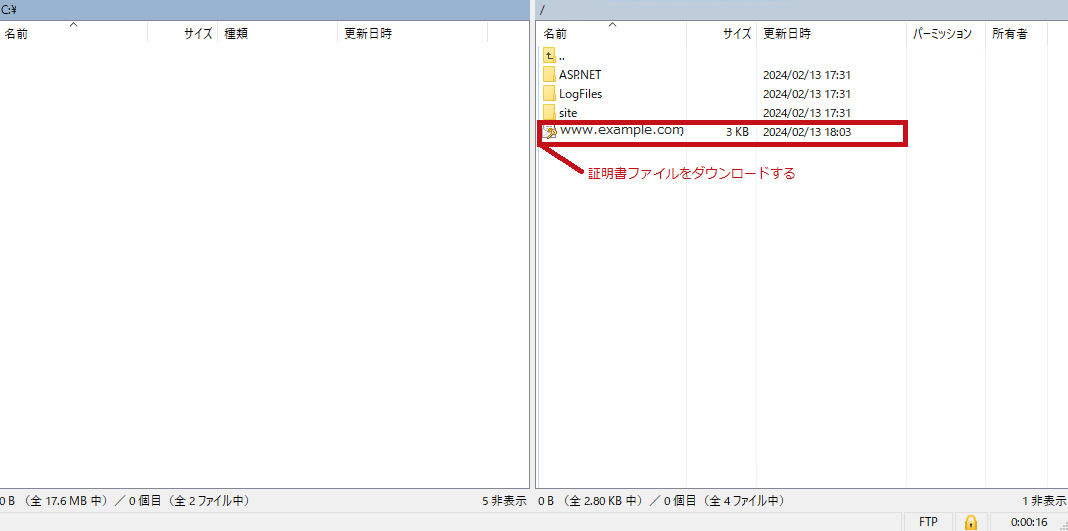
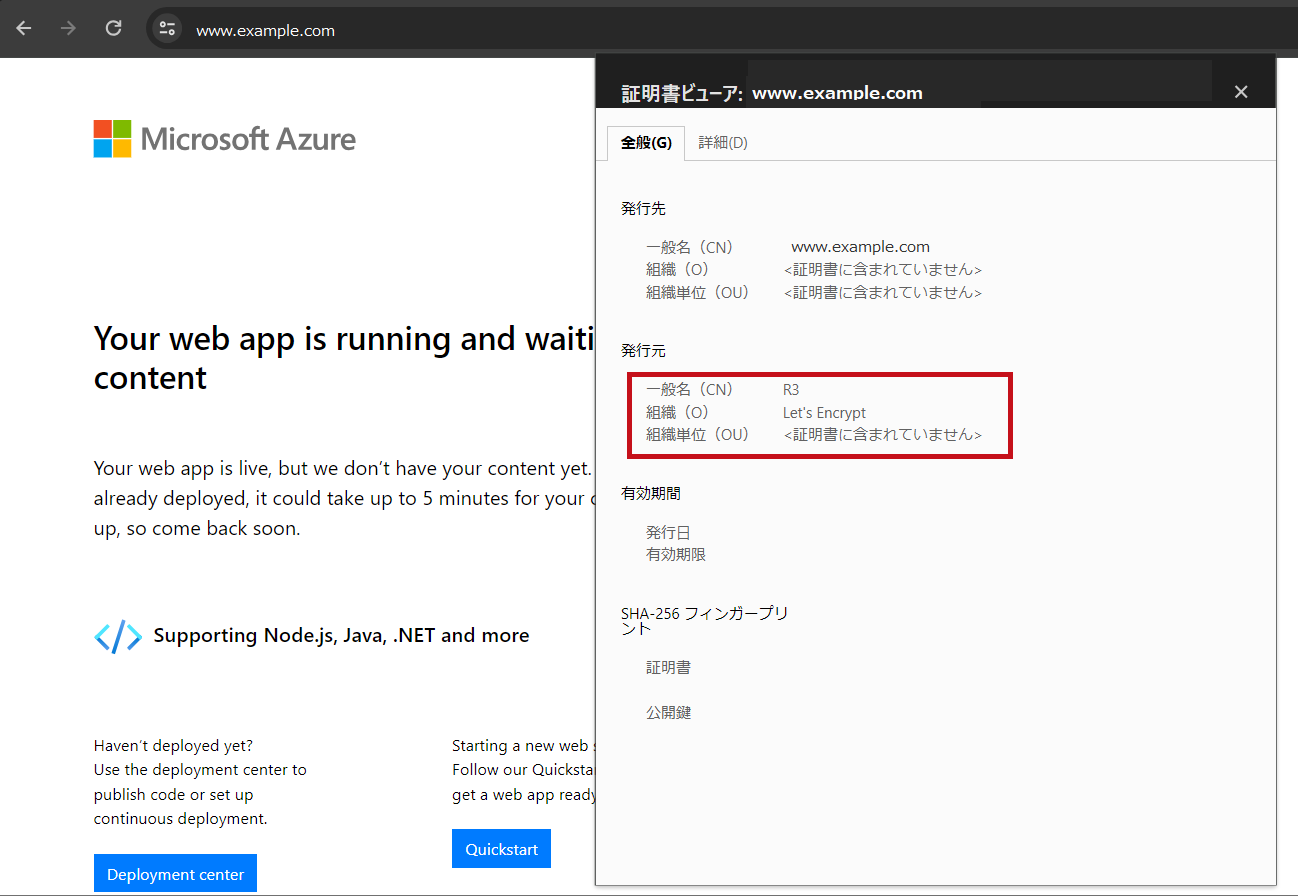
IMPORTANT NOTES: – Congratulations! Your certificate and chain have been saved at: /etc/letsencrypt/live/www.example.com/fullchain.pem Your key file has been saved at: /etc/letsencrypt/live/www.example.com/privkey.pem Your certificate will expire on 2024-05-12. To obtain a new or tweaked version of this certificate in the future, simply run certbot again. To non-interactively renew *all* of your certificates, run “certbot renew" – If you like certbot, please consider supporting our work by:
Donating to ISRG / Let’s Encrypt: https://letsencrypt.org/donate Donating to EFF: https://eff.org/donate-le
http-01 challenge for www.example.com – – – – – – – – – – – – – – – – – – – Create a file containing just this data: 002Hlo_G1Cxxxxxxxxxxxxxxxxxxxxxf2iYF_uESo.HKR2j8cvxnxxxxxxxxxxxxxxxxxxxGvnabdNDYc And make it available on your web server at this URL: http://www.example.com/.well-known/acme-challenge/002Hlo_G1Cxxxxxxxxxxxxxxxxxxxxxxxxxxxxxx_uESo – – – – – – – – – – – – – – – – – – –